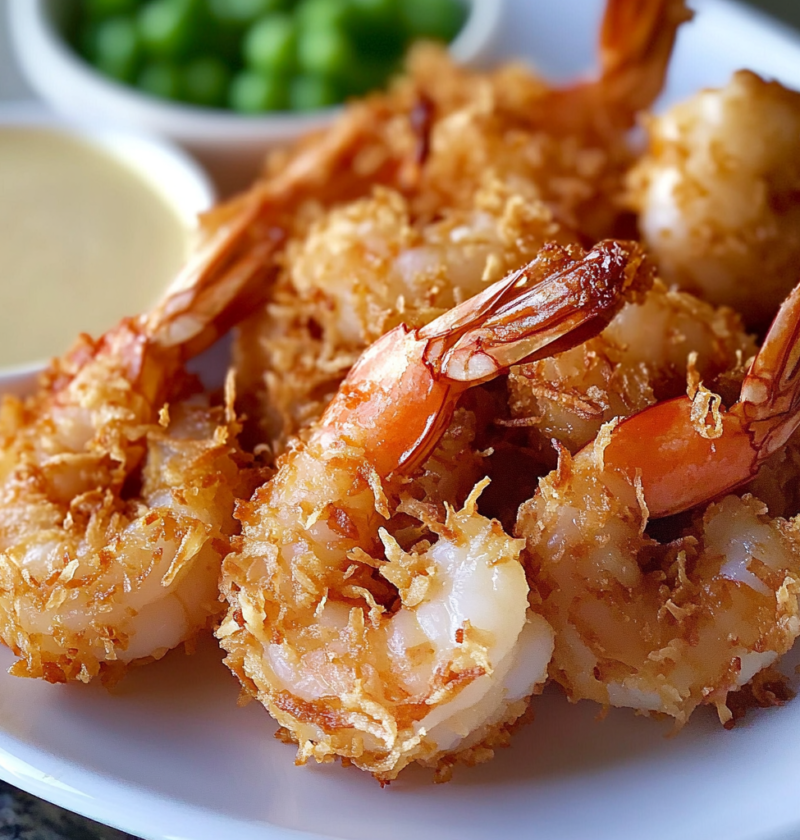
This delicious coconut shrimp recipe delivers incredible crunch and sweetness with perfectly cooked shrimp for a standout meal or appetizer. The fried coconut shrimp experience relies on a quick batter and coconut rolling process to create that signature sweet and savory flavor profile everyone loves.
| Detail | Information |
|---|---|
| Prep Time | 45 minutes |
| Cook Time | 20 minutes |
| Total Time | 1 hour 5 minutes |
| Servings | 6 to 8 |
| Difficulty | Medium |
| Cuisine | Seafood |
| Category | Appetizer |
| Method | Frying |
Why This Recipe Works
This recipe works because it balances a light batter with a heavy coconut coating without becoming greasy or soggy during the frying process. I have tested this method extensively to ensure the shrimp stay tender inside while the outside achieves a perfect golden brown crust.
The use of a baking powder-based batter creates air pockets that help the coconut cling securely to the shrimp. This technique prevents the coating from falling off in the hot oil and ensures a consistent crunch from the first bite to the last.
Refrigerating the coated shrimp before frying allows the batter to set properly, which is a critical step many home cooks overlook during their initial attempts at making fried seafood. Adding a splash of ginger ale instead of beer provides the necessary carbonation for lift while keeping the recipe free of alcohol.
Even with careful attention to oil temperature, the shrimp cook quickly, minimizing exposure to hot oil that could lead to tough meat or absorption of excess grease. The end result is a restaurant-quality dish that can be prepared comfortably at home on a busy weeknight or for a dinner party.
Chef Tips for Perfect Results
Achieving the best results from your coconut shrimp requires attention to temperature, batter consistency, and post-fry handling.
- Control Oil Temperature: Keep your oil strictly at 350 degrees Fahrenheit to ensure even cooking without burning the exterior before the interior is done. Use a deep fry thermometer to monitor the heat level consistently throughout the batch.
- Keep Drying Ingredients Ready: Have the flour, coconut, and batter bowls pre-measured before you begin dipping the shrimp to maintain a smooth workflow. This prevents the shrimp from resting out too long in the air, which can affect texture.
- Chill the Coated Shrimp: Always refrigerate the coconut-coated shrimp for at least 30 minutes before frying to help the batter adhere better to the shell. Skipping this step often results in loose coating that slips off in the oil.
- Don’t Overcrowd the Pan: Fry shrimp in small batches to prevent the oil temperature from dropping too low, which makes the final product soggy. Overcrowding also leads to uneven cooking and increased grease absorption.
- Dry the Shrimp First: Ensure your raw shrimp are patted completely dry before dredging in the flour to promote better batter adhesion. Excess moisture will cause the batter to slide off instead of sticking securely during the dipping process.
Common Mistakes to Avoid
Making coconut shrimp involves several potential pitfalls that are easy to avoid with the right knowledge and preparation.
| Mistake | Why It Happens | How to Fix It |
|---|---|---|
| Coating Slides Off | Shrimp were wet or cold when battered | Pat shrimp dry and bring to room temperature before dipping |
| Oil Too Dark | Batter burned due to high heat | Lower heat to 325 degrees and fry for longer time |
| Soggy Crust | Shrimp sat too long after frying | Drain on racks instead of paper towels immediately |
| Batter Lumps | Insufficient whisking of flour and liquid | Whisk ingredients thoroughly for a smooth consistency |
| Raw Shrimp | Fried for too short a time | Extend cooking time by 2 minutes per batch |
Variations and Substitutions
You can easily customize this recipe to fit various dietary needs or flavor preferences without sacrificing the signature taste.
| Ingredient or Element | Substitution or Variation | Impact on Flavor or Texture |
|---|---|---|
| Flour | Gluten-free all-purpose blend | Texture remains similar but slightly lighter |
| Egg | Flax egg or aquafaba | Binding holds well with vegan alternatives |
| Coconut | Sweetened flakes or unsweetened | Sweetened adds sweetness, unsweetened adds crunch |
| Shrimp | Mussels or scallops | Fish texture changes but frying remains similar |
| Batter Liquid | Ginger ale sparkling water | Non-alcoholic option with similar carbonation |
| Seasoning | Add Old Bay or paprika | Spices add depth and color to the crust |
| Cooking Oil | Avocado oil or grapeseed oil | Neutral oil flavors high smoke point is best |
| Sauce | Sweet chili sauce or tartar | Sweet pairing balances the salty seafood flavor |
Serving Suggestions and Pairings
Serving coconut shrimp right involves choosing complementary sides that balance the richness of the fried seafood with fresh elements.
- Serve with a creamy remoulade sauce for dipping on the side immediately after draining oil.
- Cut fresh pineapple chunks to offer a sweet contrast to the savory and salty shrimp flavor profile.
- Pair with a light and crisp white wine slushie or fresh ginger ale for a refreshing beverage.
- Accompany with a simple green salad with vinaigrette to cut through the fried oiliness.
- Offer warm garlic naan or dinner rolls to absorb any extra coconut sauce or dipping flavor.
- Set out a bowl of coleslaw for a crunchy vegetable element alongside the fried main dish.
- Make it a full seafood dinner by adding steamed white rice or quinoa in addition to the shrimp.
- Create a tropical theme with coconut rice for a cohesive and aromatic dining experience.
A complete meal featuring this coconut shrimp includes a side of jasmine rice, steamed broccolini with garlic, and a sweet chili dipping sauce. This combination provides a balanced plate of proteins, vegetables, and carbohydrates that appeals to both adults and children.
Make Ahead Options
You certainly can prepare parts of this coconut shrimp dish ahead of time to streamline your cooking process for a busy event or dinner service.
The batter mixture can be prepared and kept in the refrigerator for up to 24 hours before frying the shrimp. When ready to cook, allow the batter to sit at room temperature for 15 minutes to remove any chill before dipping the shrimp. The coated shrimp can also be placed on a baking sheet and stored in the refrigerator for 30 minutes to set, but do not leave them uncooked for longer than this window.
Freezing the coated raw shrimp is possible if you flash freeze them individually on a tray before transferring to a freezer-safe bag for long-term storage. Cooked coconut shrimp should always be consumed within the same day for best quality, though they can be reheated from frozen with excellent results in an oven or air fryer.
Storage and Reheating
Proper storage methods ensure leftover coconut shrimp remains safe to eat while retaining as much crispness as possible.
| Method | Duration | Instructions |
|---|---|---|
| Room Temperature | 1 hour | Keep on a wire rack in a cool, dry place to maintain crispness |
| Refrigerator | 3 days | Store in airtight containers with paper towels to absorb moisture |
| Freezer | 2 months | Flash freeze raw or cooked shrimp in a single layer before bagging |
| Reheating | 400 degrees | Use an oven or air fryer for crispiness instead of microwave |
| Make Ahead | 24 hours | Store batter separately from shrimp for freshness |
Nutritional Information
Approximate values are based on one serving and may vary depending on exact ingredients and portion size.
| Nutrient | Amount per Serving |
|---|---|
| Calories | 350 |
| Protein | 18 grams |
| Fat | 22 grams |
| Saturated Fat | 10 grams |
| Carbohydrates | 20 grams |
| Fiber | 2 grams |
| Sugar | 5 grams |
| Sodium | 400 mg |
Frequently Asked Questions
Can I make the batter ahead of time?
Yes, you can prepare the batter a few hours in advance to save time during the cooking phase. Store the mixture in an airtight container in the refrigerator until you are ready to coat the shrimp.
Can I use frozen shrimp for this recipe?
Yes, you can use frozen shrimp as long as you thaw and dry them completely before starting the batter process. Thaw the shrimp in the refrigerator overnight and use paper towels to remove all excess moisture.
What temperature should the oil be?
Keep the oil at a steady 350 degrees Fahrenheit throughout the frying process to ensure perfect browning. A deep fry thermometer is essential for maintaining this consistent temperature without guesswork.
How do I store leftover Coconut Shrimp?
Store leftover Coconut Shrimp in an airtight container in the refrigerator for up to three days. Reheat in an oven or air fryer to restore the texture and crispness lost during cooling.
Is Coconut Shrimp gluten-free?
Standard coconut shrimp contains flour, which means it is not naturally gluten-free unless you use a substitute flour. Use a certified gluten-free all-purpose flour blend to make the recipe safe for those with gluten sensitivities.
Can I air fry instead of fry?
You can air fry the shrimp for a healthier version of this recipe, though it may be slightly less crispy than deep frying. Spray lightly with oil and cook at 400 degrees for 10 to 12 minutes until golden brown.
Conclusion
This easy coconut shrimp recipe delivers the perfect balance of crispy texture and sweet flavor in every bite. By following these detailed steps, you will master the art of frying coconut shrimp that rivals any restaurant menu item. Enjoy the satisfying crunch and the delightful taste of fresh seafood coated in toasted coconut for your next family gathering.
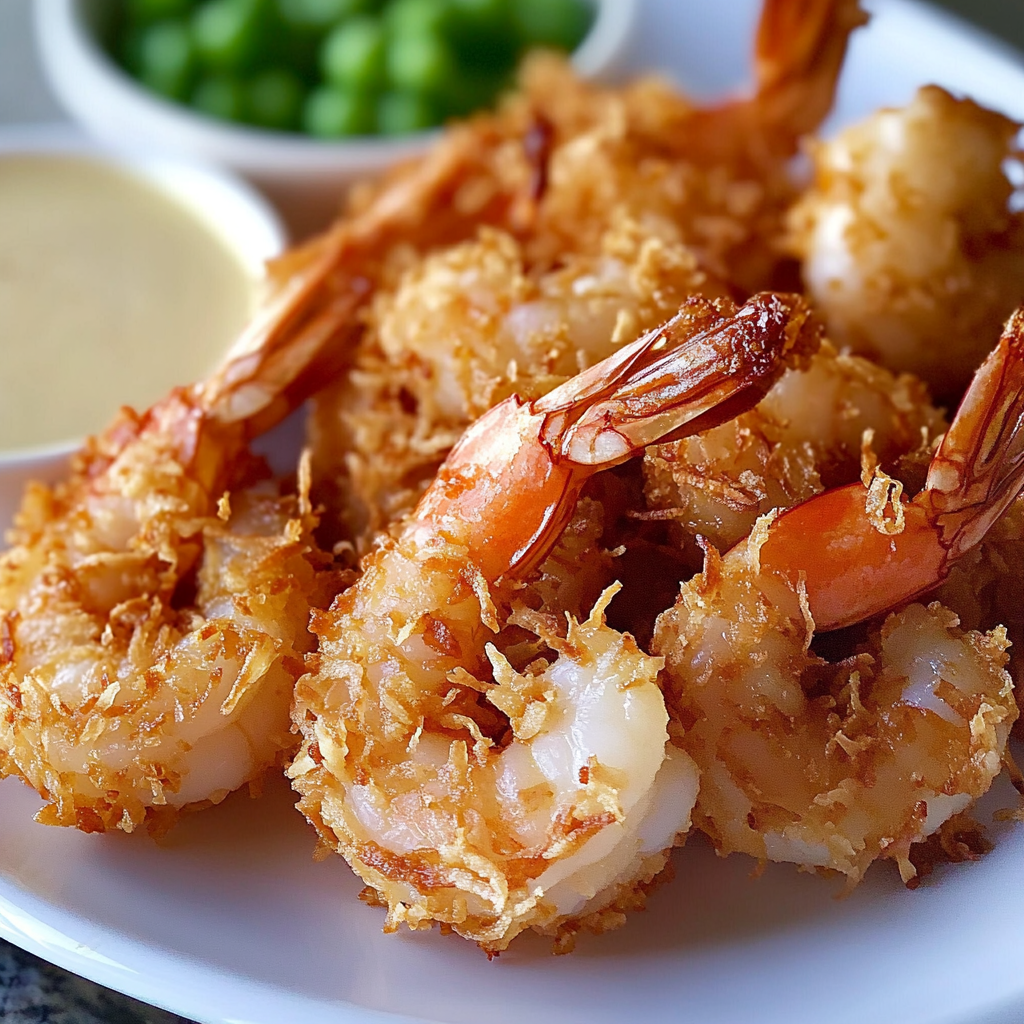
Crispy Coconut Shrimp Recipe for Quick Family Dinners
Ingredients
Method
- In a medium bowl, combine flour and baking powder.
- In another bowl, whisk eggs until frothy, then add ginger ale.
- Dip each shrimp in the egg mixture, then dredge through the flour mixture.
- Shake off excess flour and roll shrimp in shredded coconut until fully coated.
- Place on a baking sheet and refrigerate for 30 minutes to set coating.
- Heat oil in a deep fryer or heavy pot to 350°F (175°C). Fry shrimp in batches until golden brown and cooked through (about 1-2 minutes per batch). Drain on paper towels.
Nutrition
Notes
Prep all coating stations before starting shrimp coating.
Chilling allows batter to bind properly.
For dietary restrictions, use coconut oil for frying.